How to Texture Skin in 3D
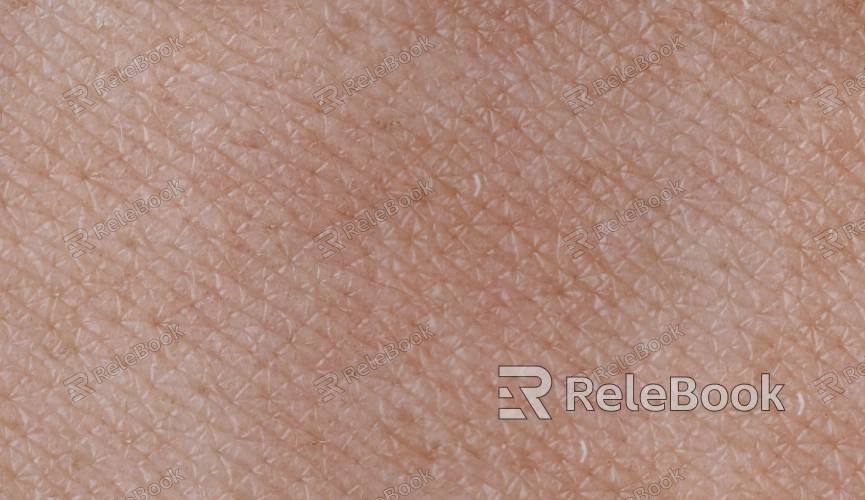
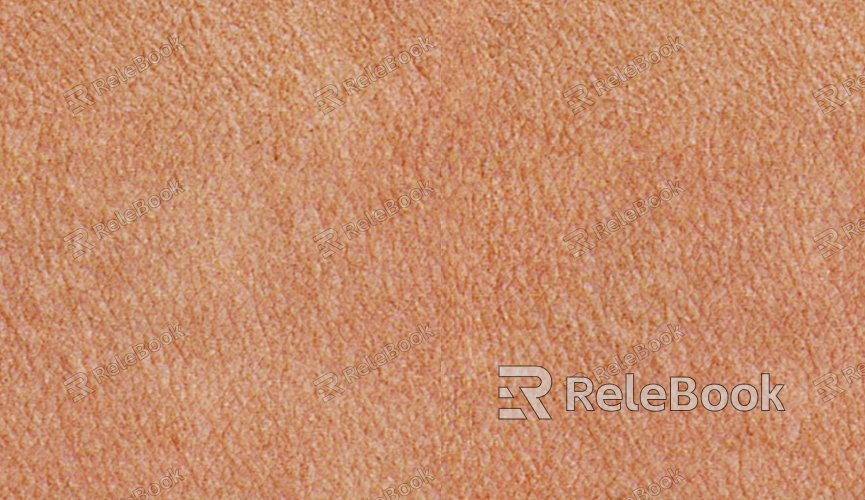
Creating realistic and detailed skin textures for 3D models is a vital step in character development, game design, and cinematic animation. Skin textures enhance the lifelike appearance of models, convey emotions, and add individuality to characters, making them visually engaging. Tools like Blender, Maya, and Substance Painter are commonly used for this process, which involves preparation, texture creation, detail enhancement, and performance optimization. This guide will walk you through the steps to efficiently create realistic 3D skin textures and achieve stunning results.

1. Preparation
The first step in texturing 3D skin is gathering the necessary tools and materials while laying the groundwork for the process.
Select Suitable Reference Materials: Use high-resolution photographs of human skin, especially focusing on areas like the face and hands. Alternatively, professional-grade images from texture libraries can provide a solid starting point.
Prepare Software and Hardware: Popular tools such as Substance Painter, Photoshop, and ZBrush work best when paired with hardware like a graphic tablet, improving precision and efficiency.
Set Up Model UVs: In Blender or Maya, ensure the model’s UVs are unfolded evenly and proportionally. This step ensures that textures align properly across the model.
2. Create the Base Skin Texture
The base texture serves as the foundation for the final skin appearance, so it requires meticulous attention.
Generate a Texture Base Map: Start by stitching together reference images into a cohesive base texture using photo mapping techniques.
Paint a Base Skin Layer: Use software tools to create a smooth gradient of natural skin tones. Avoid overly saturated or flat colors.
Check for Distortions: Test the base texture in 3D software to identify any stretching or blurriness and make necessary adjustments.
3. Add Fine Details
Adding small details like pores, wrinkles, and imperfections makes the skin texture more lifelike.
Create a Normal Map: Use Photoshop or Substance Painter to generate a normal map from high-resolution images, adding depth and realism.
Design Roughness Maps: Define subtle variations in skin shine, such as the glossy T-zone or matte areas like cheeks.
Include Texture Details: Hand-paint pores, fine lines, scars, and blemishes. Incorporate veins or freckles to enhance complexity.

4. Optimize the Texture
Optimization ensures a balance between quality and performance, particularly in rendering.
Choose the Right Resolution: Decide on texture resolution based on the project. For example, 4K textures suit high-end movies, while 2K works well for real-time applications.
Compress File Sizes: Use lossless compression techniques to reduce file size while maintaining texture clarity.
Ensure Platform Compatibility: Test the texture in the intended rendering environment (e.g., Unreal Engine or Unity) to ensure smooth performance.
5. Adjust Skin Materials
Combining textures with materials enhances the skin’s interaction with light and overall appearance.
Refine Reflective Properties: Fine-tune the reflective attributes of the material to create realistic highlights.
Use Subsurface Scattering (SSS): Add SSS layers to mimic the way light penetrates and scatters through skin, enhancing its lifelike quality.
Render Under Various Lighting: Test the material under different lighting scenarios to ensure consistency across environments.
6. Save Files and Prepare for Future Edits
Organized file management is crucial for easier revisions and ongoing improvements.
Organize Texture Files: Store base maps, normal maps, and other related files in separate folders for quick access.
Track Changes: Maintain version control by saving iterations of your work to prevent accidental loss of earlier stages.
Back Up to the Cloud: Protect your work by uploading files to a secure cloud storage platform.
By following these steps, you can create high-quality skin textures for your 3D models, bringing characters to life with impressive realism. While the process may seem complex, careful planning and the right tools can simplify each stage.
If you’re looking for premium 3D texture resources, SketchUp models, or 3ds Max assets to build your projects and virtual environments, check out Relebook. Their extensive library offers everything you need to achieve exceptional visual results in your work!

